On the rail, a swing tag competes with every other garment for a shopper’s attention. At the till it has to scan first time. In the warehouse it has to survive packing and transport without creasing. Designing a tag that does all three is mostly a question of structure, and that is what this guide covers.
We design and manufacture swing tags in-house, from board selection to die-cutting and stringing. The advice below reflects what tends to work in production and what usually needs a second proof.
Give each side one job
The cleanest tags separate brand and information. The front is what the shopper sees on the rail; the back is what staff and scanners use. Trying to do both on one face is the most common reason a tag looks busy.
The front: be recognised
- Your logo, large and confident, placed in the upper third so the string does not cut through it.
- A line name if you run more than one collection.
- At most one short phrase or a pattern that links the tag to your packaging and website.
The back: be useful
- Style name or number, colour and size where no sticker covers them.
- A clear rectangle for the price or barcode sticker, uncoated or lightly coated so adhesive holds. Agree its size with your warehouse first.
- A printed EAN-13 barcode if it is identical for every unit, in a dark colour on a light ground with clear space on both sides.
- Two to four lines about the product or material.
- A QR code to a product page, size guide or care video. Brands preparing for digital product data can use our QR and DPP labels alongside.
- Website and social handle, small and low.
Composition and care information belongs on the sewn-in care label, because the swing tag is removed after purchase.
Selling in several countries? Keep the front language-free and put translated text on the back. One front artwork then serves every market.
Shape: the first impression
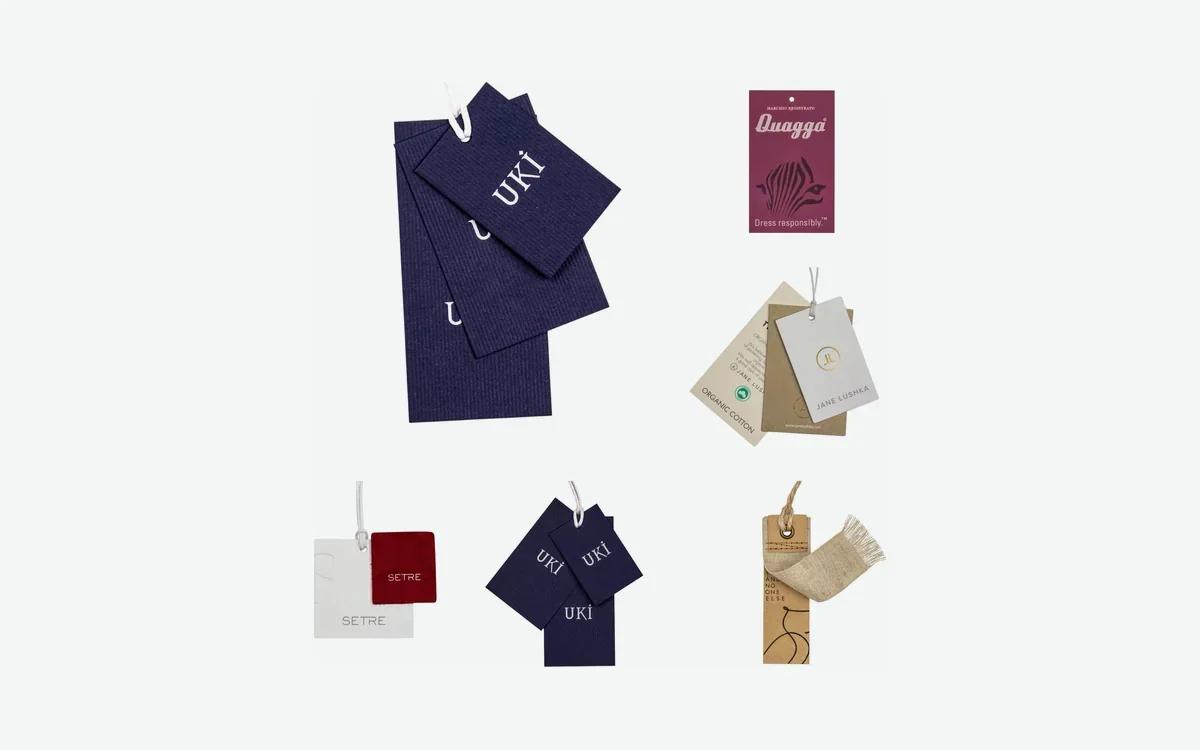
Before anyone reads a word, they notice the outline. A rounded-corner rectangle is tidy and efficient. An arched top, a circle or a silhouette taken from your logo makes the tag recognisable from across a store. A custom shape needs a cutting die made once; repeat orders reuse it.
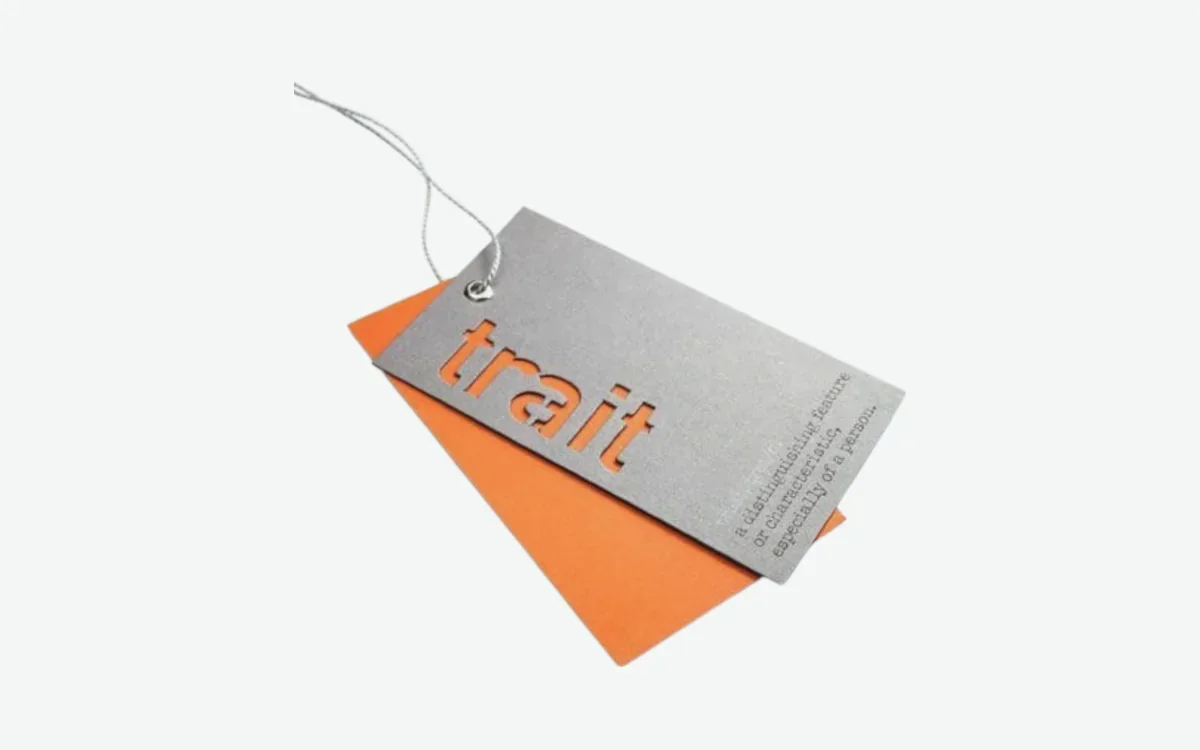
Practical limits apply. Sharp points and narrow necks bend in transit, and a hole set close to a curve can tear. Folded tags give four panels for a longer story or more languages, and a small window cut-out can frame the fabric behind.
Finishes: pick a lead
A tag looks most refined when one finish leads and everything else supports it.
| Finish | Effect | Best partner | Watch out for |
|---|---|---|---|
| Hot foil | Metallic or coloured shine | Logos, borders, icons | Very fine lines and large solid areas |
| Embossing | Raised logo | Heavier uncoated or textured board | Small text loses definition |
| Blind debossing | Logo pressed in, no ink | Kraft, recycled, thick boards | Needs simple shapes |
| Spot UV | Gloss on selected areas | Matt or soft-touch tags | Best on dark or mid tones |
| Soft-touch lamination | Velvety surface | Dark, premium tags | Combine with foil or spot UV for contrast |
| Coloured edges | Colour visible from the side | Thick or layered tags | Choose a shade from your palette |
| Multi-layer | Thick, solid build | Gift and luxury lines | Allows a contrasting core |
Coated board prints sharpest and suits spot UV and fine foil. Uncoated, kraft and recycled boards favour embossing and a natural feel. Our hang tags page lists the boards we stock.
Ten ideas to start from
- Kraft board with a blind-debossed logo and natural cotton cord.
- Black soft-touch with a single gold-foil wordmark.
- Matt navy with a tone-on-tone spot UV pattern.
- A layered tag with a different core colour for each fit.
- A die-cut outline taken from your monogram.
- A folded tag: logo outside, product story inside, barcode on the back.
- A large size letter on the back for quick picking.
- A main tag plus a small material tag on one string.
- A logo-embossed seal closing the string loop.
- A 40–50 mm round mini tag for caps and scarves.
Files that go straight to proof
- Bleed: extend backgrounds 2–3 mm past the cut line.
- Safe zone: keep text and logos at least 3 mm inside the cut and away from the hole.
- Vectors: AI, EPS, PDF or SVG with outlined fonts; images at 300 dpi at final size.
- Colour: CMYK for print, Pantone references for brand colours.
- Finish layers: foil, spot UV, embossing and die lines on separate named layers or spot colours at 100%.
- Type size: body text around 6 pt or more; slightly bolder for foil and reversed text.
- Barcodes: a verified file, not scaled below its recommended size, on a plain light area away from foil.
No artwork yet? Our design team can build print-ready files from a logo or sketch.
How the proof works
We return a dimensioned proof of both sides, showing the cut line, hole and finish layers, typically within 24–48 hours. Check spelling, barcodes, Pantone references and the sticker area, then approve or request changes on the same proof. For a new shape or finish combination, a physical sample is recommended. Production typically takes 10–20 working days after approval, with delivery across the EU.
Send your logo, the content for each side and your preferred finish to [email protected] or WhatsApp/Viber +359 876 766 050.
What should go on the back of a swing tag?
Style and size details, a sticker area or printed barcode, a short product story, a QR code and your website. Keep the front for the brand.
Can I put composition and care on the swing tag instead of a sewn label?
No. The tag is removed after purchase, so the required information must stay on the sewn-in care label. You can repeat highlights on the tag.
How many finishes should one tag have?
Usually one lead finish, perhaps with a second supporting one. Too many techniques compete and make the tag look less refined.
Do custom tag shapes cost time on every order?
The cutting die is made once for your outline. Repeat orders reuse the same die.