When a factory sews your garments and you sell them under your own name, the labels are what make the product yours. They carry your identity, your legal information and your retail data, and they travel with you from one factory to the next. This guide is written for brand owners who want a private label clothing label set that is consistent, correct and ready on the sewing line on time.
Why own your labels separately
Garment factories often offer generic labels, and that can be convenient for a first test run. Ordering your labels directly from a label manufacturer gives you something more valuable: one specification that stays the same whether your jersey comes from one factory, your denim from another and your outerwear from a third. Logos, colours, folds and care layouts match everywhere, and your artwork is stored for reorders.
Step 1: define the label set
| Piece | Purpose | Typical format |
|---|---|---|
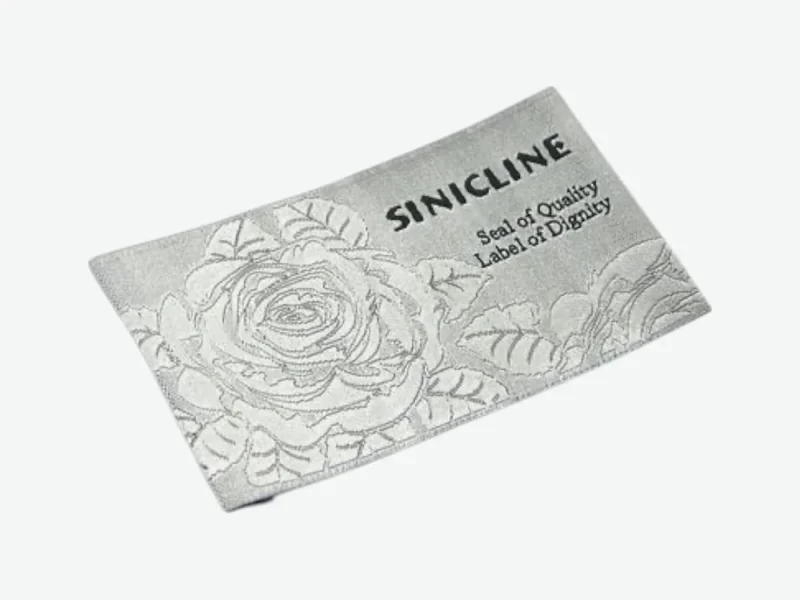
| Brand label | Your logo inside the garment | Woven label at neck or waistband; tagless heat transfer for tees |
| Care and composition label | Fibre content, care symbols, languages | Printed care label in the side seam |
| Size label | Size marking | Small tab, or printed on the care label – see size labels |
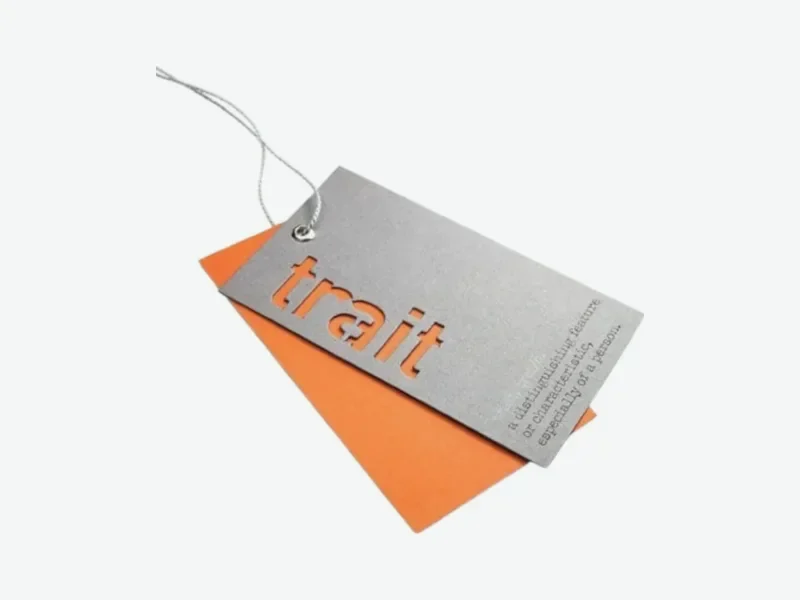
| Hang tag | Brand story, style number, barcode | Hang tag with barcode sticker |
| Accent label | Outside signature detail | Leather patch, metal plate, silicone label or woven flag |
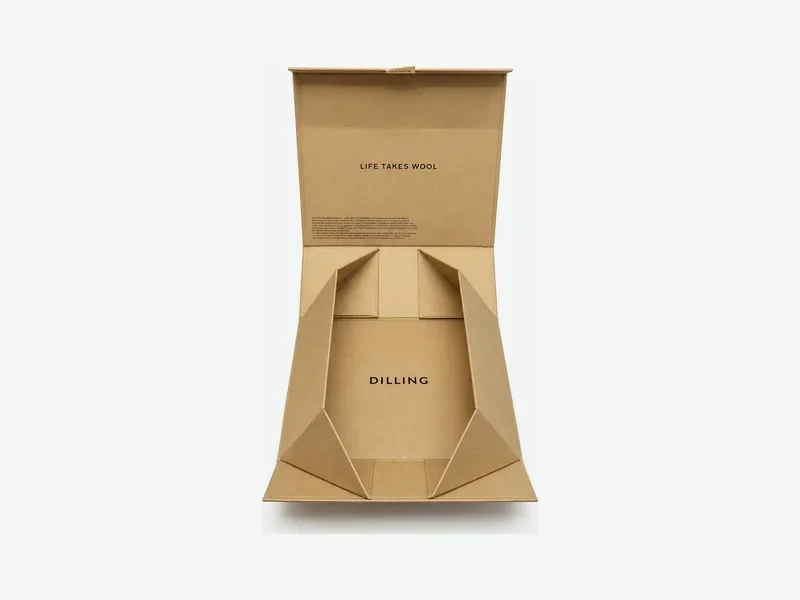
| Packaging | Presentation and logistics | Poly bags, stickers, boxes |
Keep the brand label identical across styles wherever possible. One design used on every garment is simpler to order and instantly recognisable.
Step 2: settle responsibilities with the factory
Put in writing who supplies what. A common arrangement is that the brand supplies brand, care and size labels plus hang tags, while the factory supplies thread, poly bags and cartons. Equally important: the business placing the garment on the EU market is responsible for the composition shown under Regulation (EU) No 1007/2011, so ask the factory to confirm the final fibre blend before you approve care label proofs. Fabric substitutions happen, and a “similar” fabric may have a different composition.
Step 3: write a placement sheet
Add a page to each tech pack that shows exactly where every label goes, how it is folded and stitched, and which way up it faces. For example: brand label centre back neck, size tab to its left, care label in the left side seam 10 cm above the hem. Clear drawings save time on the sewing line and prevent rework.
Step 4: calculate quantities
Work from the production plan, style by style, and add a buffer of a few per cent for sewing losses. Consider a capsule of four styles – a hoodie and a sweatshirt in the same fleece, a T-shirt and a long-sleeve in the same jersey – at 500 pieces each, in sizes XS–XL:
- Brand label: one design, 2,000 pieces plus buffer.
- Care labels: two designs, one per fabric, about 1,000 each.
- Size labels: five designs split along your expected size curve, with extra on the best sellers – or print the size on the care label to reduce designs.
- Hang tags: one design for all 2,000, with per-SKU barcode stickers.
Sharing designs across styles is the easiest way to keep orders efficient. Minimums per design are low – ask us for the figures for your mix.
Step 5: time the order backwards
- Brief us with logo, content and quantities; a digital proof follows, typically within 24–48 hours.
- Approve the proof; request physical samples if you want to check colour and feel on the real fabric.
- Production typically takes 10–20 working days after approval.
- Delivery to the factory anywhere in the EU, plus a few days of buffer for goods-in.
A reliable rule: order labels when the factory confirms your production slot, not when the fabric arrives.
Step 6: ship straight to the sewing room
We can deliver directly to your garment factory, with cartons marked with your brand, style numbers and the factory’s purchase order reference. Size and care variants are packed and labelled separately so the line picks the right one first time. Ask the factory for its delivery address, receiving hours and the name of the person who handles trims.
Avoiding the usual surprises
- More markets, more languages. Decide where you will sell before ordering care labels, or choose a multilingual layout from the start.
- Late logo tweaks. A change after approval restarts the proof; finalise artwork first.
- Uneven size runs. If the factory over-produces one size, size labels run short – build in extra.
Your briefing checklist
Vector logo and Pantone colours; styles with fabrics and compositions; care instructions and languages per market; size system and quantities per size; placement sheet; hang tag content and barcode list; supplier split agreed with the factory; factory address, contact and PO number; target sewing start date. Send it to [email protected] or via WhatsApp/Viber +359 876 766 050, and as the manufacturer we will take it from there.
Frequently asked questions
Can I use the same labels with several factories?
Yes. That is one of the main reasons to order labels yourself: one specification gives an identical result at every factory.
Will you deliver labels directly to my factory?
Yes, anywhere in the EU, with cartons marked with your brand, style numbers and the factory’s PO reference.
Who decides what goes on the care label?
The brand that places the garment on the market. Confirm composition with your factory and supply care instructions per fabric.
How can I reduce the number of label designs?
Use one brand label for every style, group care labels by fabric and print sizes on the care label when quantities per size are small.
When is the right moment to order?
As soon as the factory confirms the production slot, allowing for proof, typical production of 10–20 working days and delivery.