A winter parka, a lightweight shell or a team softshell all share one branding challenge: the logo has to survive weather, straps and many seasons of wear while still looking sharp. Custom silicone badges answer that brief well, and as a silicone label manufacturer we help outerwear brands plan them from the first sketch.
Below, the decisions follow the order a product developer usually meets them.
Start with what the jacket goes through
Before choosing a size or a shape, list the conditions the garment will face. A ski jacket meets frost, snow and chairlift bars. A cycling shell meets rain and backpack straps. A workwear jacket meets industrial washing and daily friction against vehicle seats. Silicone handles this range well for a few clear reasons:
- It sheds water. The surface does not soak anything up, so a badge stays clean and keeps its colour in wet weather.
- It stays supple when cold. A sleeve badge can be folded on a frozen morning without cracking.
- Colour runs through the material. Pigment is mixed into the silicone itself, so there is no surface layer to wear away.
- It resists rubbing. Straps, belts and handling leave little trace on a well-moulded badge.
- It catches light. Raised areas and textures make the logo readable from several metres away.
If you are still weighing silicone against soft PVC, our overview of label materials sets out the differences.
Mapping the logo positions
Most outerwear ranges use two or three badge positions, each with its own size logic. The table below gives typical starting points we use when proposing a set.
| Position on the jacket | Common size range (mm) | Usual construction | Usual fixing |
|---|---|---|---|
| Upper sleeve, below the shoulder seam | 40 × 40 to 60 × 40 | 3D or bordered 2D | Stitched or heat-pressed |
| Left chest | 30 × 30 to 50 × 30 | Thin 2D | Heat-pressed on softshell, stitched on heavy shells |
| Back, under the collar | 60 × 20 to 80 × 30 | 2D lettering | Heat-pressed or stitched |
| Hood, back neck or hem tab | 20 × 20 to 50 × 20 | Flat 2D tab | Caught in a seam |
The sleeve is the most visible spot: it shows from the side and from behind, and the panel is easy to handle before the jacket is assembled. A gently curved outline sits better on the arm than a large stiff square. The chest logo is the quieter signature; on fleece and softshell a thin badge keeps the front smooth.
Choosing between flat and sculpted moulding
2D silicone
A 2D badge is built from flat levels with crisp vertical steps between them. It is typically around 1 to 1.5 mm thick, light and flexible, which makes it the natural partner for heat application and for lettering on the chest.
3D silicone
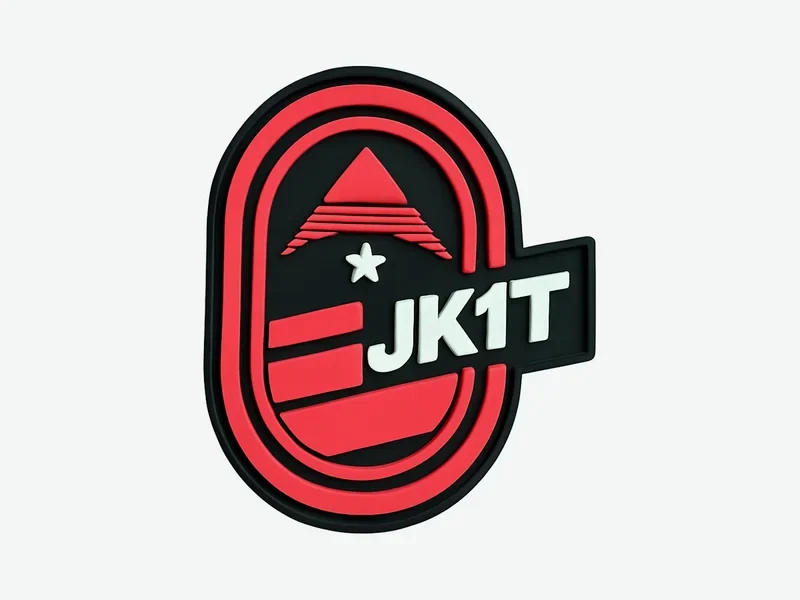
A 3D badge has rounded or bevelled forms that rise gradually, like a miniature relief. It can reach roughly 3 to 4 mm at its highest point and gives heavy parkas and technical jackets a strong, sculpted presence. Because it is stiffer, it is usually stitched in place.
Both are produced in a mould cut from your artwork, so the logo, border and surface texture are all part of the tool. Very fine strokes below about 0.5 mm tend to soften during moulding; our design team will suggest where to thicken them before the digital proof goes to you.
Fixing the badge to the shell
Heat application
Heat-applied badges carry an adhesive layer on the back that bonds under temperature and pressure. They leave no needle holes, which is a real advantage on waterproof membranes and taped seams. Two cautions apply: the shell must tolerate the press temperature, and water-repellent finishes can weaken adhesion. A test press on your production fabric is part of every project we run. Related options are covered on our heat transfer labels page.
Stitching
Sewn badges are moulded with a flat border or a stitching channel. The needle runs through that border and the fabric, giving a mechanical hold that suits heavy jackets and workwear. On a waterproof garment, attach the badge to the panel before seam taping, or place it on an area without membrane.
A useful middle route is a heat-applied badge with a moulded border that imitates stitching, giving the sewn look without perforating the shell.
Washing, cold and long-term wear
Silicone remains stable across a wide temperature range, so it copes with frost on the slopes and with normal domestic washing. We recommend washing a sample garment with the badge attached before releasing bulk production.
Getting the colours right
Colours are matched to the Pantone references you send. Since the pigment is in the mass, the shade stays even across the whole badge and from batch to batch. Surface finish changes perception, so a matt texture reads slightly darker than a gloss one. A physical sample is the most reliable way to confirm both colour and feel, and we produce samples before every production run.
How a project runs with us
- You send the logo, the jacket style and the intended positions.
- Our designers propose sizes, 2D or 3D construction and fixing method.
- You approve a digital proof, then a physical sample.
- Production typically takes 10 to 20 working days after sample approval, with delivery across the EU.
See the full range on our silicone labels page, or contact us at [email protected] or on WhatsApp/Viber +359 876 766 050.
Will a silicone badge crack on a ski jacket?
Silicone stays flexible at low temperatures, so a well-made badge bends with the sleeve instead of cracking, even in freezing conditions.
Can I use a heat-applied badge on a waterproof jacket?
Yes, and it is often the preferred method because it leaves no needle holes. We always test the press on your actual shell fabric, as water-repellent finishes can affect adhesion.
How large should a sleeve badge be?
Most sleeve badges fall between 40 × 40 and 60 × 40 mm. We check proportions against your smallest and largest jacket sizes before proofing.
Can the badges match our brand Pantone colours?
Yes. The pigment is mixed into the silicone to your Pantone references, and we send a physical sample so you can approve the shade and surface finish.
Can you make matching zip pullers?
Yes. Moulded pullers are separate parts, and we plan their colour together with the badges so the whole jacket stays consistent.